🎨 Edit
The Edit feature empowers you to modify and refine your generated images using natural language prompts. Whether you want to add elements, change colors, adjust details, or transform your design, the Edit feature makes it easy to iterate until you achieve the perfect result.
🎯 How to Use
After generating images with the /imagine command, you can edit any of your images with these simple steps:
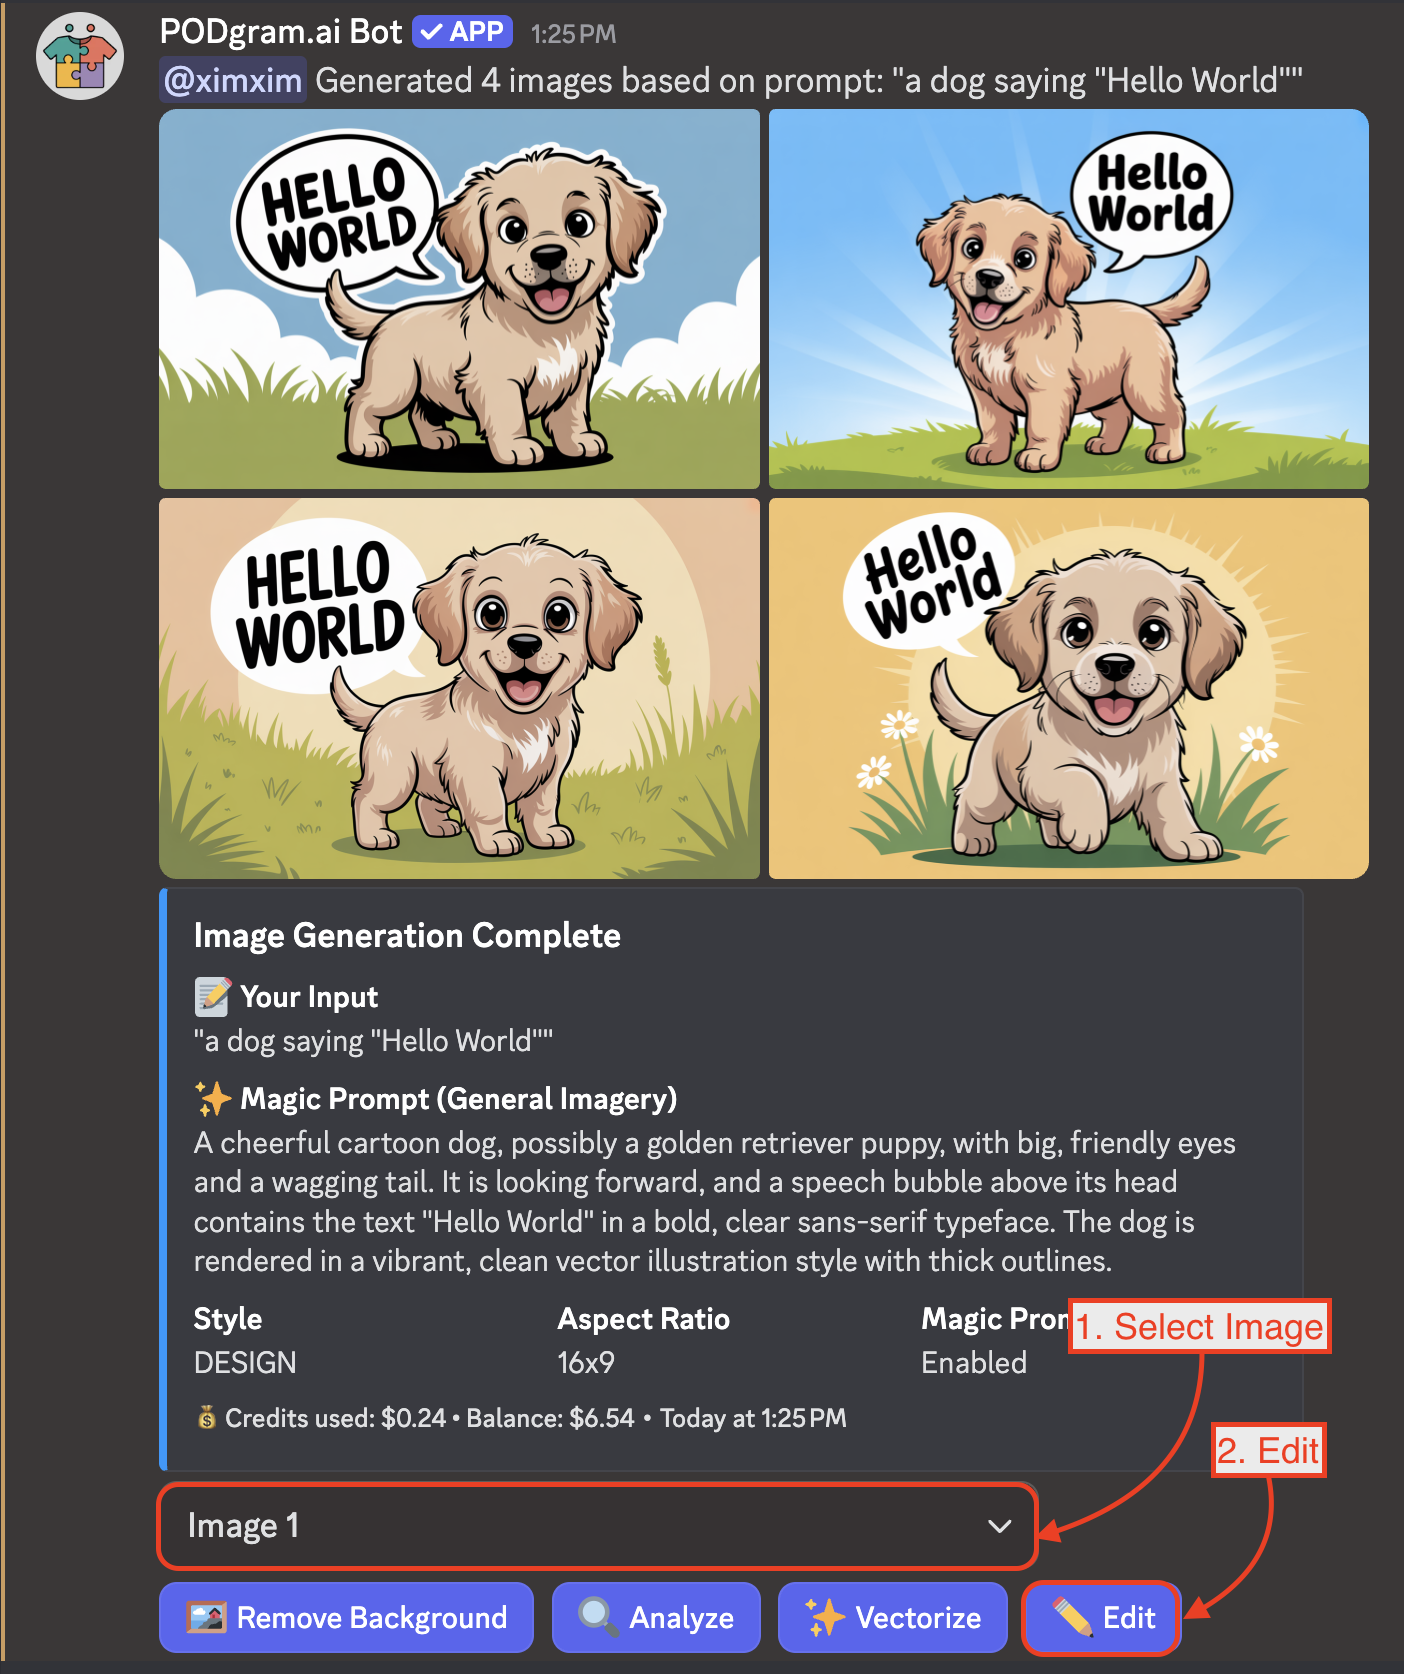
Step 1: Select and Click Edit
- Use the Image dropdown selector to choose which generated image you want to edit (by default, Image 1 is selected)
- Click the "Edit" button to open the editing modal
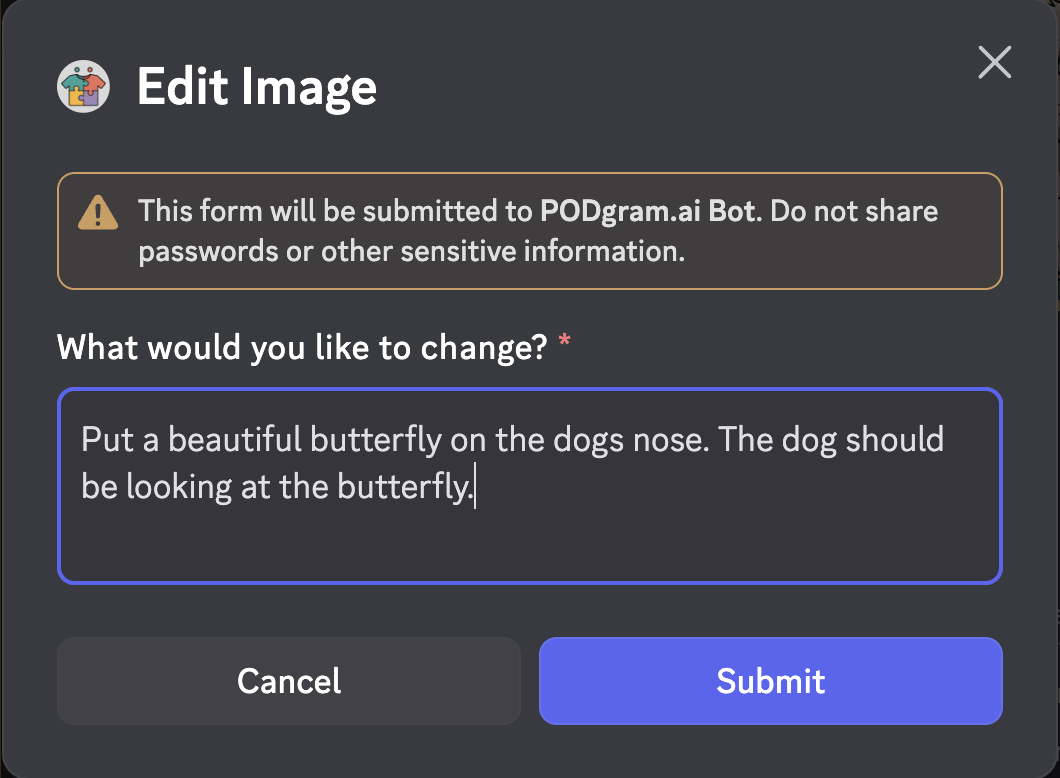
Step 2: Describe Your Changes
A modal will appear asking "What would you like to change?" Simply describe your desired modifications in natural language.
Example prompts:
- "Put a beautiful butterfly on the dog's nose. The dog should be looking at the butterfly"
- "Change the background to a beach sunset"
- "Make the text bold and add a shadow effect"
- "Add sunglasses to the character"
- "Change all blue colors to purple"
Once you've entered your prompt, click Submit to process your edit.
✨ Result
Within seconds, you'll receive your edited image with the changes applied based on your prompt:
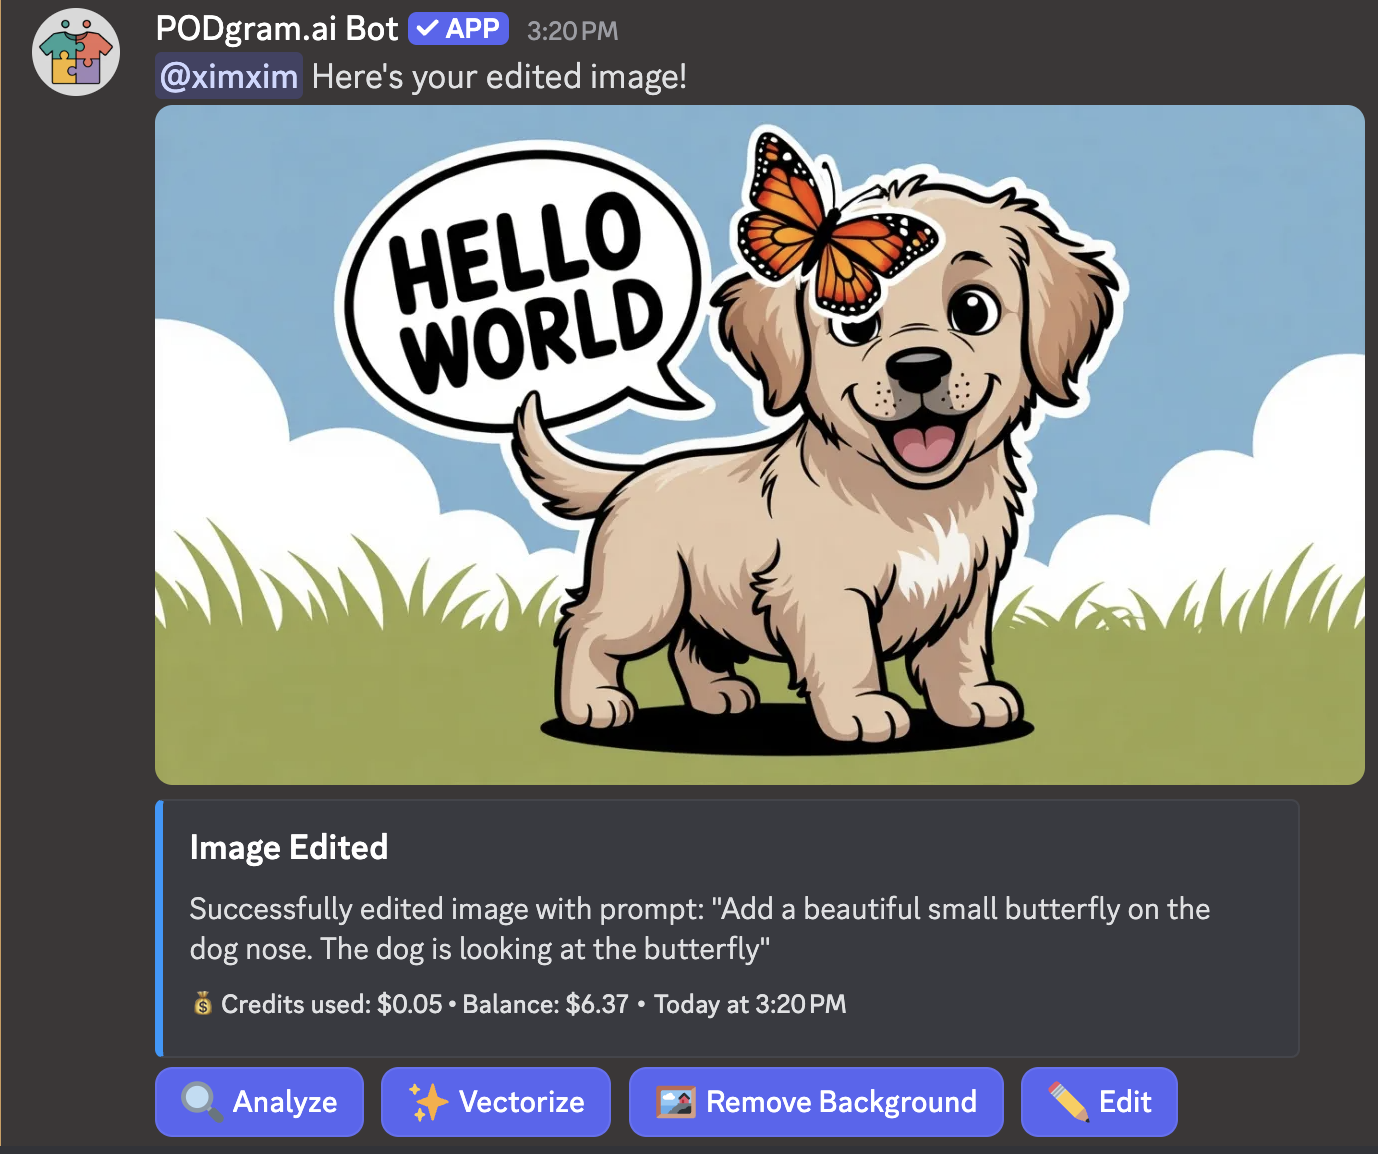
The result message will show:
- Your edited image with modifications applied
- The prompt that was used for editing
- Credits used for the operation
- Your remaining balance
Continue Iterating
Not quite perfect? No problem! You can continue editing by clicking the Edit button again. Each edit builds upon the previous version, allowing you to refine your design iteratively until you're completely satisfied.
Additional Actions
After editing, you can perform additional actions on your image:
- 🔍 Analyze - Get detailed insights and product recommendations
- ✨ Vectorize - Convert to scalable vector format
- 🖼️ Remove Background - Create transparent PNG
- 🎨 Edit - Make further modifications (iterate again!)
💰 Credit Usage
Image editing costs $0.05 per edit. Check your balance anytime using the /balance command.
💡 Pro Tips
The more specific your editing prompt, the better the results. Instead of "make it better," try "add a red border around the text" or "brighten the colors by 20%."
Make one or two changes at a time rather than requesting many changes at once. This gives you more control over the final result and makes it easier to achieve your vision.
If you want to keep most of the image but change one element, be specific about what to change while being clear about what to keep. For example: "Keep everything the same but add a crown on the character's head."
Each edit builds on the last one, so you can progressively refine your design. Start with major changes first, then fine-tune with smaller edits.
🎨 Common Use Cases
The Edit feature is perfect for:
- Adding Elements - Include new objects, characters, or decorations
- Color Adjustments - Change colors, adjust brightness, or modify tones
- Text Modifications - Alter text style, size, or effects
- Background Changes - Replace or modify backgrounds
- Detail Refinement - Add shadows, highlights, or texture
- Style Variations - Experiment with different artistic styles
- Product Customization - Personalize designs for specific products
- A/B Testing - Create variations to test which design performs best